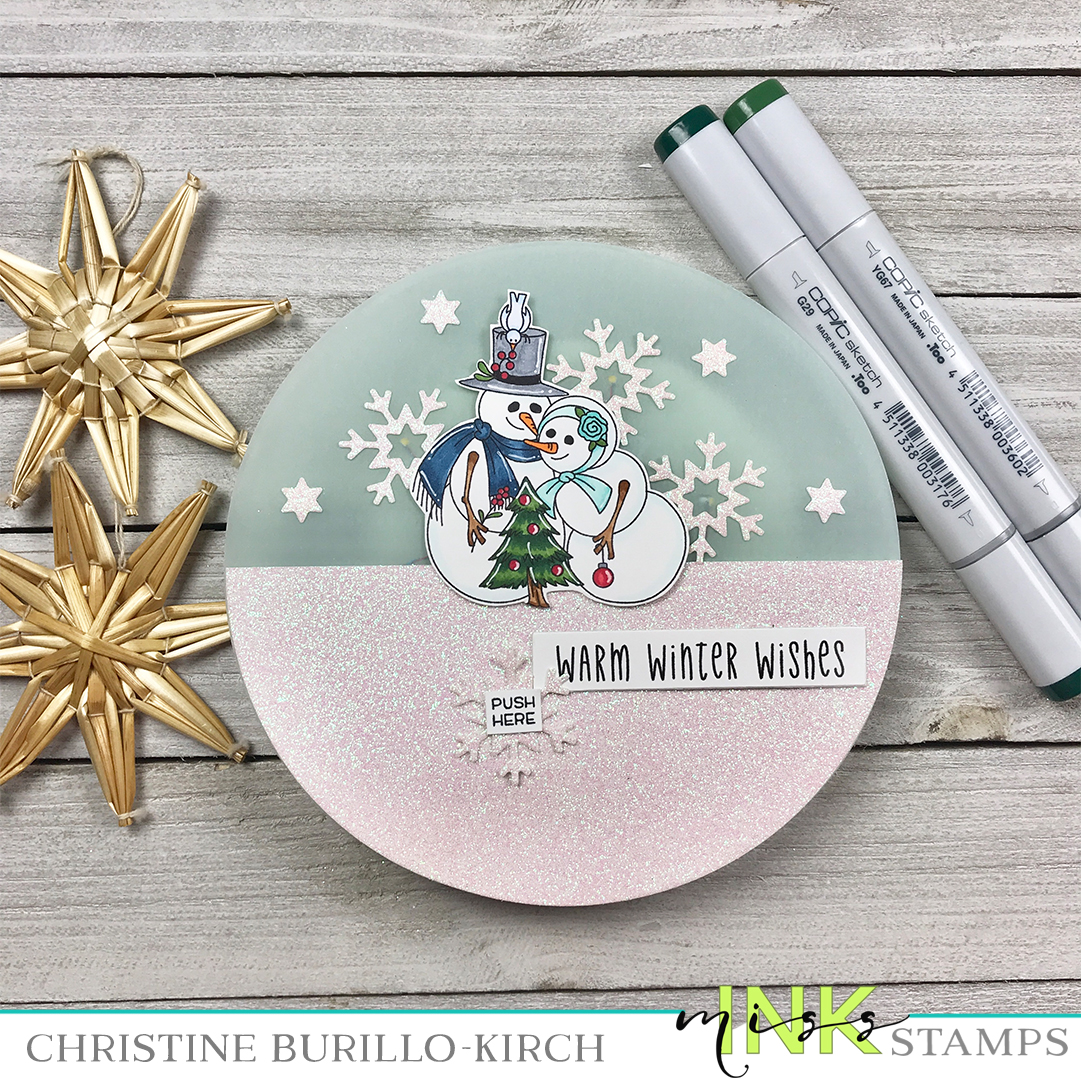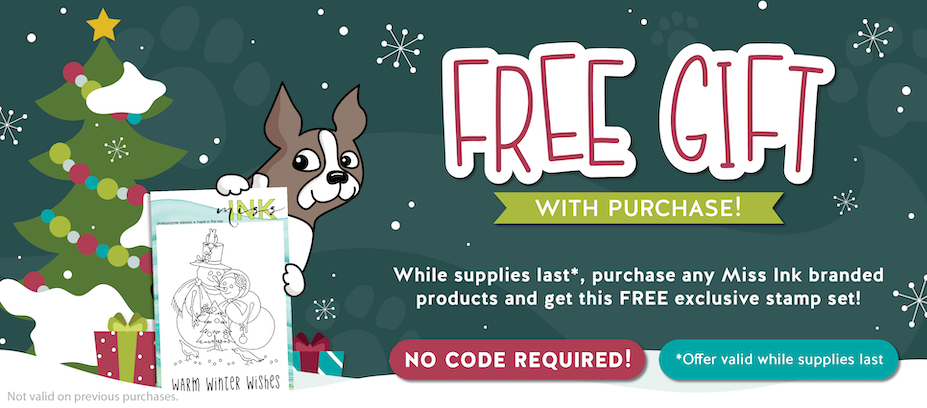
Today I'm making a pendulum card that lights up. Simon Says Stamp has an amazing promotion going on right now, if you purchase any Miss Ink branded product, you will get the stamp set with this adorable snow couple free! I'm using this stamp on my project today!


To prepare the card:
- I first prepared a few elements before putting the card together. I die cut a 5 inch diameter circle from 110 lb Neenah solar white cardstock & white glitter cardstock and 2 5 inch diameter circles from blue vellum. I die cut a few snowflakes from glitter cardstock, and stamped and fussy cut the image & sentiment. I cut the glitter cardstock circle in half and adhered one half to one of the blue vellum circles. I also folded the Neenah cardstock circle in half to form the card base. Finally, as shown above, I pulled out an EZ light element from Pear Blossom Press.

- I copic colored the image with the copics shown above.

- I adhered the copic colored image to the blue vellum/glitter cardstock piece and placed the snowflakes where I wanted them to be, so that when I turned the entire piece over, I could map out where I wanted the LED elements. Since the EZ light element has 3 LED lights, I placed one LED in each snowflake and taped each in place. I placed the button mechanism upside down, so that it would be in the correct position and facing the front of the card. The button mechanism is a little bit bulky, so I placed double sided foam tape all around the bottom of the card to protect the entire light mechanism.

- The second vellum blue circle was adhered to the card base, and then the light mechanism piece was adhered to the vellum/card base so that the light mechanism is sandwiched between the 2 pieces of blue vellum. Adhering the final snowflake with the "push here" piece finished the card.
Thank you so much for stopping by!
 Today I'm making a pendulum card that lights up. Simon Says Stamp has an amazing promotion going on right now, if you purchase any Miss Ink branded product, you will get the stamp set with this adorable snow couple free! I'm using this stamp on my project today!
 To prepare the card:


11 comments
bSrOEdkmBTng
QxkshjLnfPSOdtNc
GrnTXUmfqy
zFTyxlMULBnYjs
bHMiqEZfFwCvLXl